|
Ancient-Pig's Photoshop texture painting tutorial
|
|
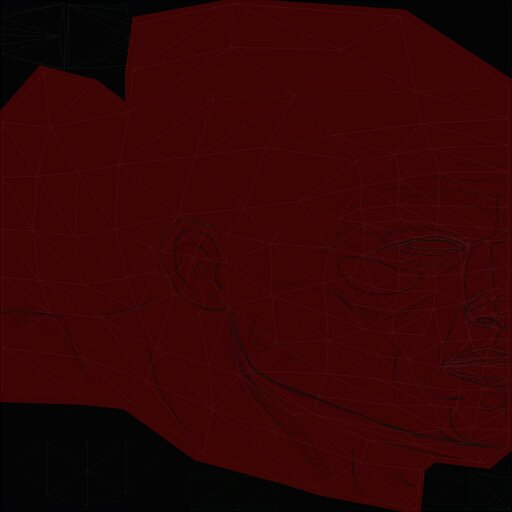
Below is the first phase of my texturing - a step I do the same no matter what kind of texture I'm creating. The starting format is one black background layer, one crimson red layer, the UV layout of the geometry, and my dark marking lines on a 4th layer. When painting alive human skin, I always begin with a base layer of crimson red as a quick representation of the blood beneath. As I build color layers on top of this, I feel that the red always shines through, even if very little, giving skin a plush coloration. 90% of texture creation rests in 'nailing' the colors, and this step seems to always help me get there. I use the overlaid UV layout as a guide for my dark (never black, always dark dark blue) guide lines which show me where the landmarks of the face are. It's a process of trial and error - repeatedly checking the layout of the lines on the model until I feel they provide a solid structure for me to move forward. This particular case took me a handful of times to get right. I usually mark sections of the face with lines, and areas that'll receive lighter tints with a closed shape. |
|
|
|
|
All art and concepts of this site are ©2004-2007 Pig-Brain.com unless otherwise noted. ALL RIGHTS RESERVED
Any use of artwork (part or whole) contained within this website is strictly prohibited without the explicit consent of Pig-Brain.com. |